Table of Content
Adding swipejs to welcome page
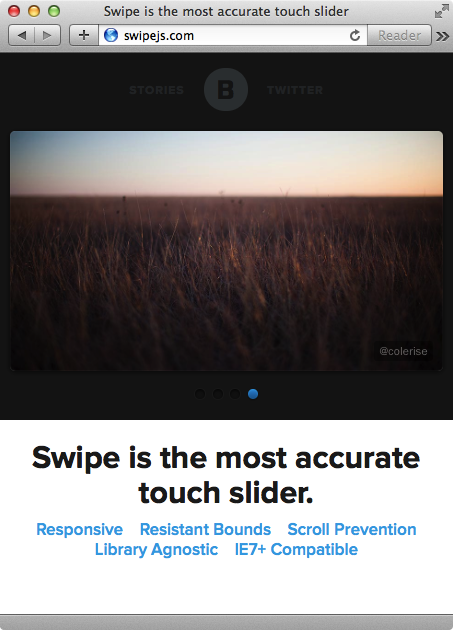
We will use SwipeJS for the task. The source code are available on github.

Then put the swipe.js in the vendors/ folder.
From the SwipeJS doc, we copy and paste the styling to our project.
 1/* SwipeJS */
 2.swipe {
 3  overflow: hidden;
 4  visibility: hidden;
 5  position: relative;
 6}
 7.swipe-wrap {
 8  overflow: hidden;
 9  position: relative;
10}
11.swipe-wrap > div {
12  float: left;
13  width: 100%;
14  height: 200px;
15  position: relative;
16  text-align: center;
17  padding-top: 120px;
18}
19
20#welcome {
21  background: #dbd0c3;
22  color: #111;
23}
And then the logic to get it started.
From the document, we can use the Swipe function.
But we need to put it inside pageshow event.
 1// show the welcome page
 2$(document).bind('pageshow', function(event, ui) {
 3  if ($(event.target).attr('id') === 'welcome') {
 4    Swipe(document.getElementById('slider'), {continuous:false});
 5  }
 6});
 7setTimeout(function(){
 8  $.mobile.changePage('#welcome', {transition:'slideup'});
 9  $('#close-welcome-btn').click(function(){timer.restart();});
10}, 500);
And the HTML part.
1<div data-role='page' id='welcome'> 2 <div data-role='content'> 3 <div id='slider' class='swipe'> 4 <div class='swipe-wrap'> 5 <div> 6 <p>Step 1: Focus on you current task for 25 minutes.</p> 7 <p><small><<-- Swipe for more.</small></p> 8 </div> 9 <div><p>Step 2: Rest for 5 muntues when time’s up.</p></div> 10 <div><p>Step 3: Repeat.</p></div> 11 <div><p>Press “Done” to get start.</p></div> 12 </div> 13 </div> 14 <a id='close-welcome-btn' data-role='button' data-rel='back'>Done</a> 15 </div> 16</div>
Here is the demo with SwipeJS.
What’s next? We’re going to take a look at “Welcome tutorial with style”.
